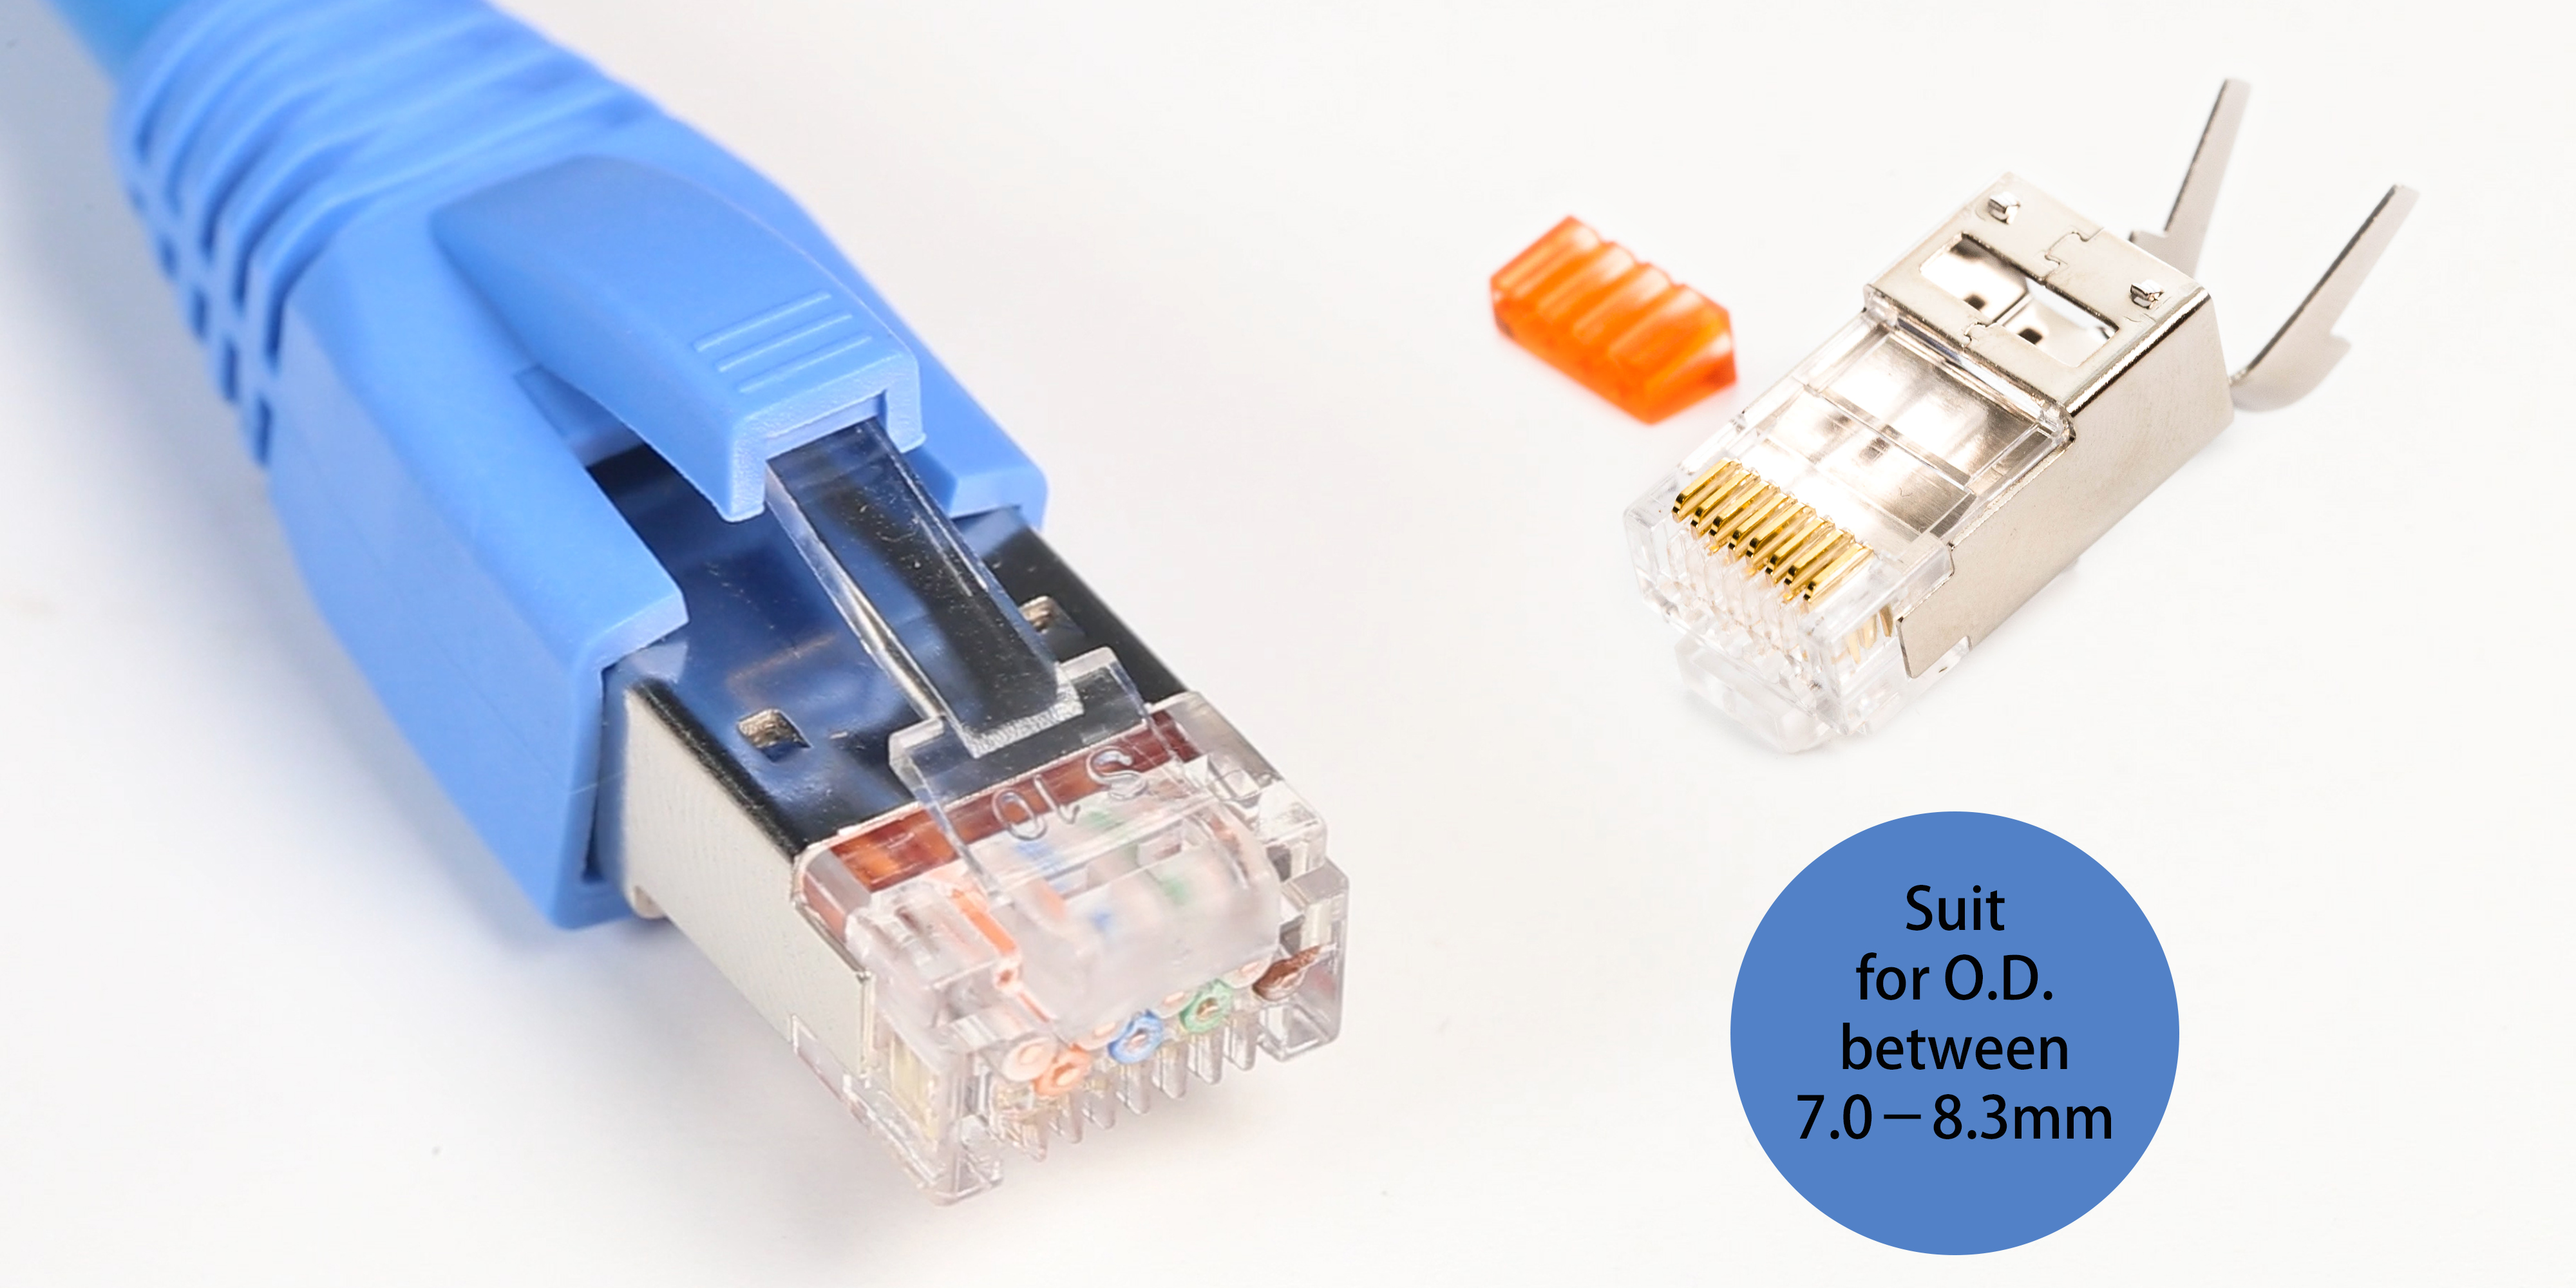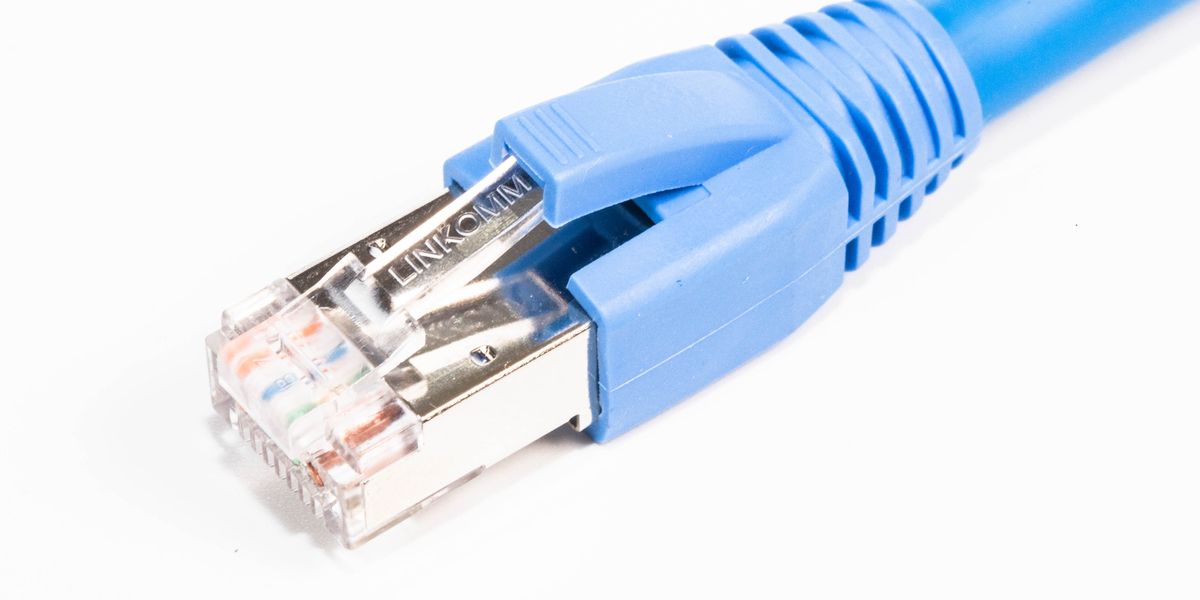
Most of modular plugs in the market are only suitable for the ethernet cable which diameter is under 6.5mm. Therefore, the large diameter cables must be crimped with large diameter modular plugs.
Today, we are going to teach you how to crimp the large diameter ethernet cables.
Without further ado,I'd like to go straight to the point!
Step 1:
Pass the large diameter boot through the cable.
The cable we used is LINKOMM Cat.6A 23AWG solid ethernet cable. Please note the strain relief and the modular plugs are special for large diameter cables!
Due to the diameter, you can't pass the Cat.6A 23AWG ethernet cable through the gerenal modular plugs or boots.
Step 2:
Strip the cable.
Use adjustable blade stripping tool can avoid hurting the wires.
Step 3:
Arrange the shielded braid.
You can see the double shielded set on the cable, one is shielded braid, and the other one is foil screen.
Arrange the shielded braid cross around the cables, and cut the extra braid.
Step 4:
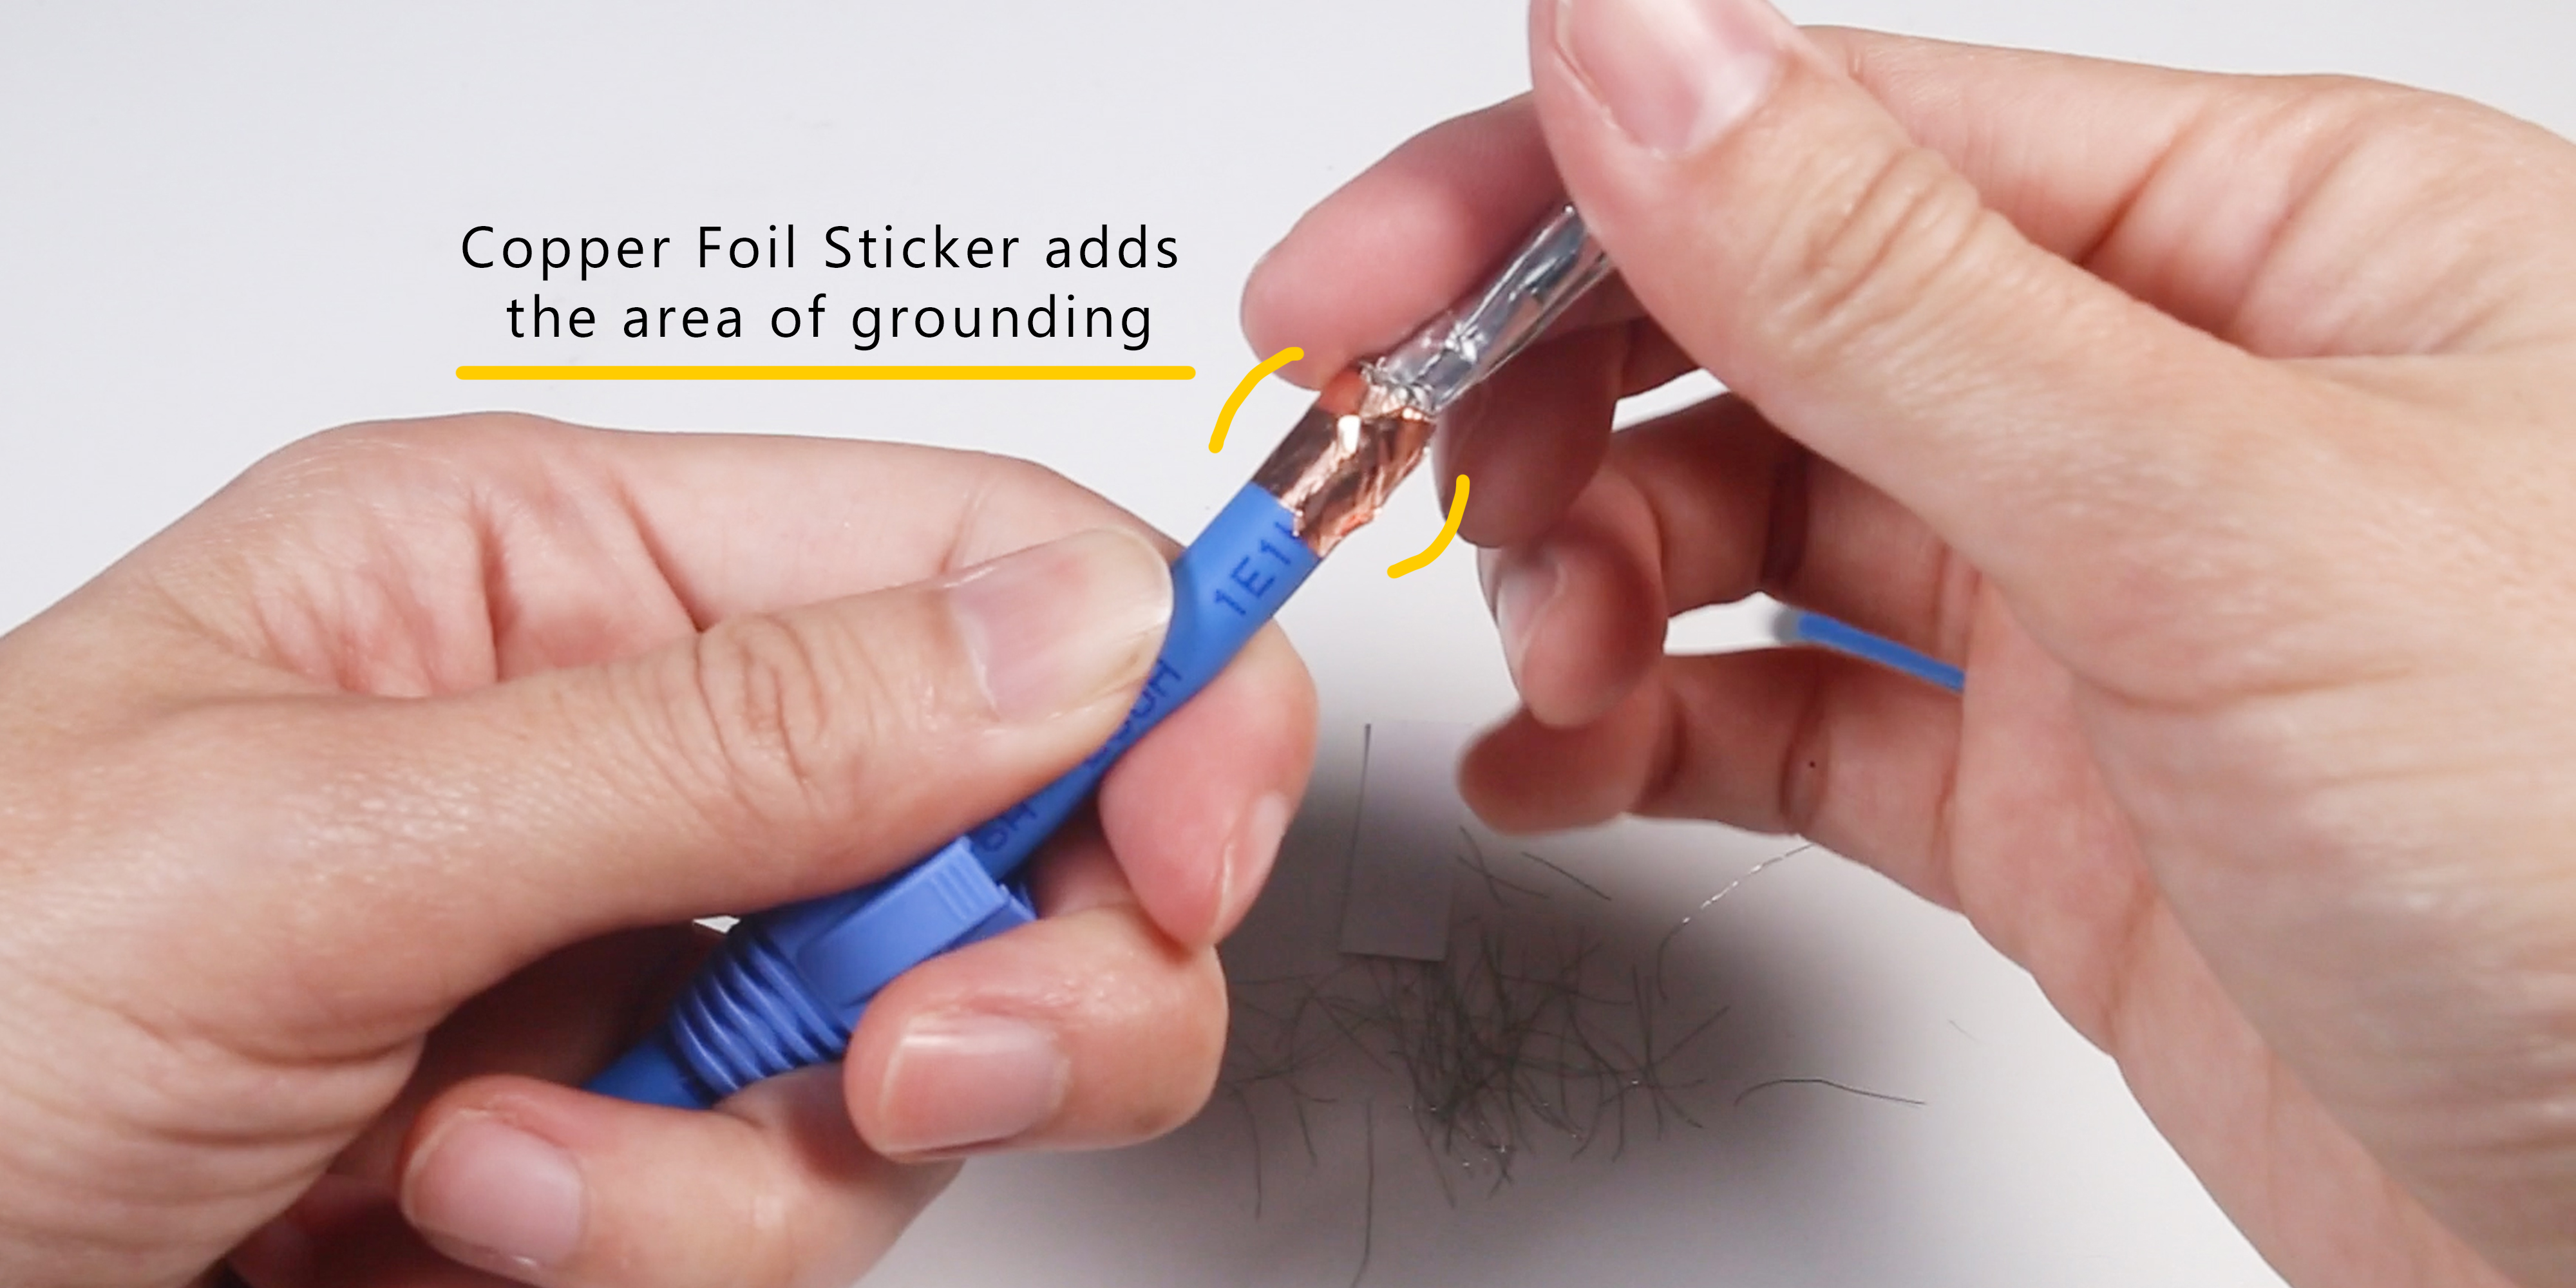
Stick the copper foil sticker.
Use the Copper Foil Sticker Double Conductive Tape for helping grounding.
Stick it on the shielded braid which is arranged neatly before.
Step 5:
Take away the foil screen on each pair.
Step 6:
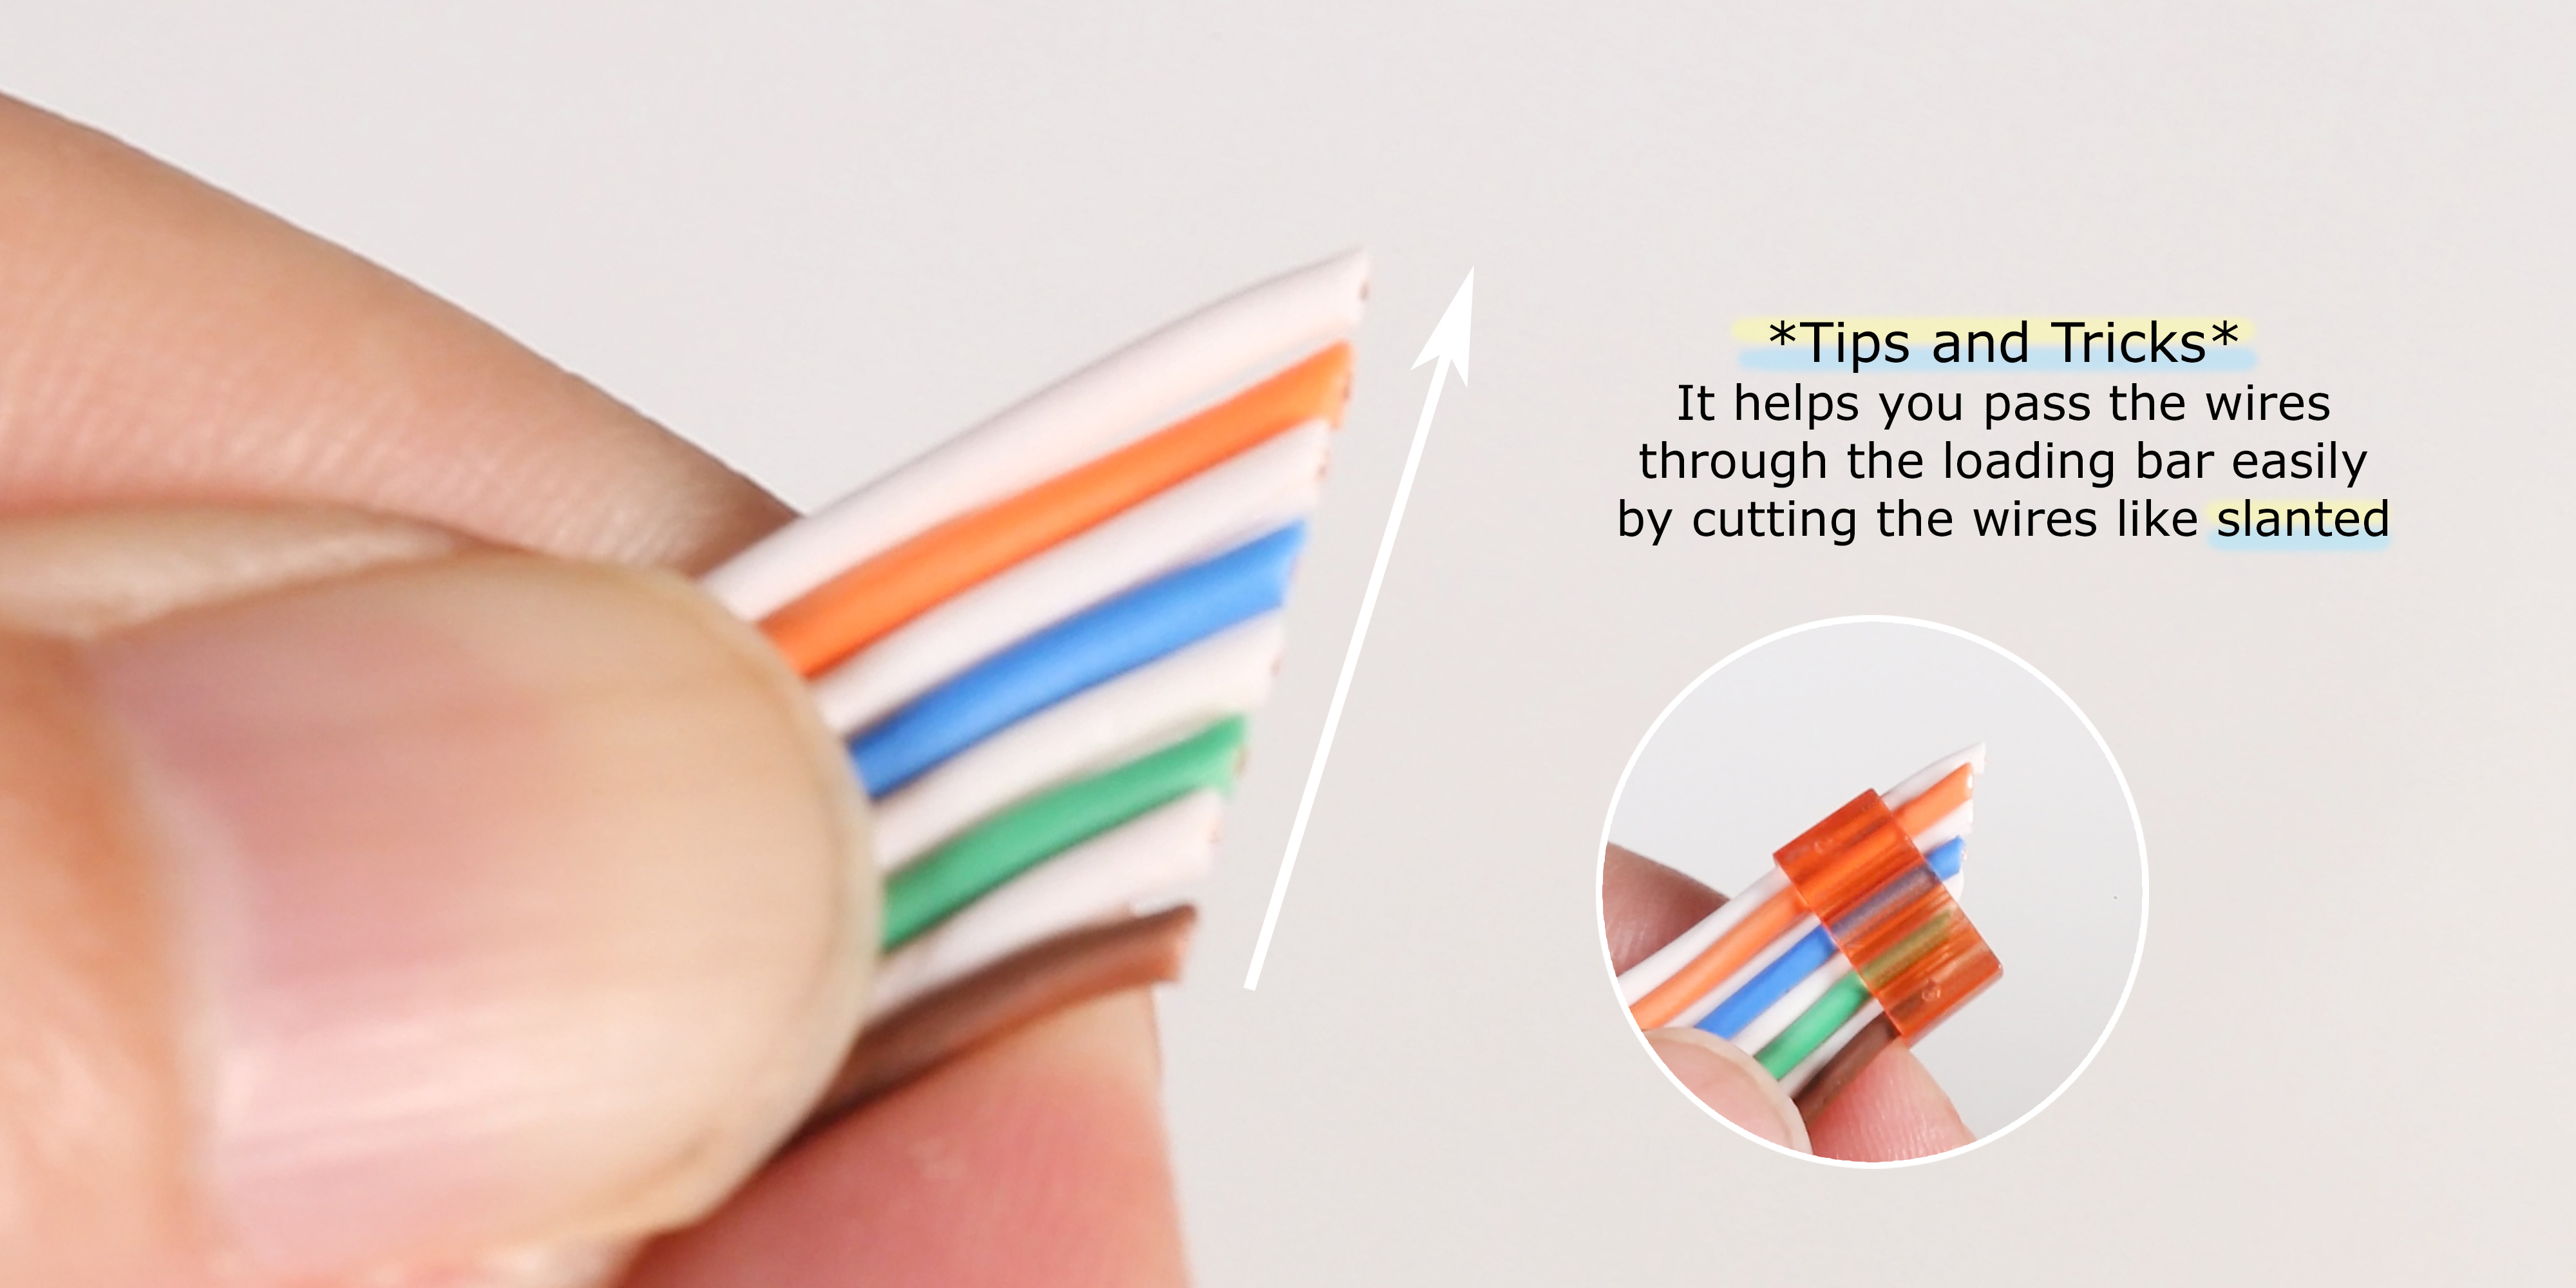
Arrange the wires according to T-568B.
Here are some tips and tricks:
It helps you pass the wires through the loading bar easily by cutting wires like slanted.
Try the tip then you'll know what I'm saying!
Step 7:
Pass the wires through the loading bar and modular plug.
Tips and tricks again~
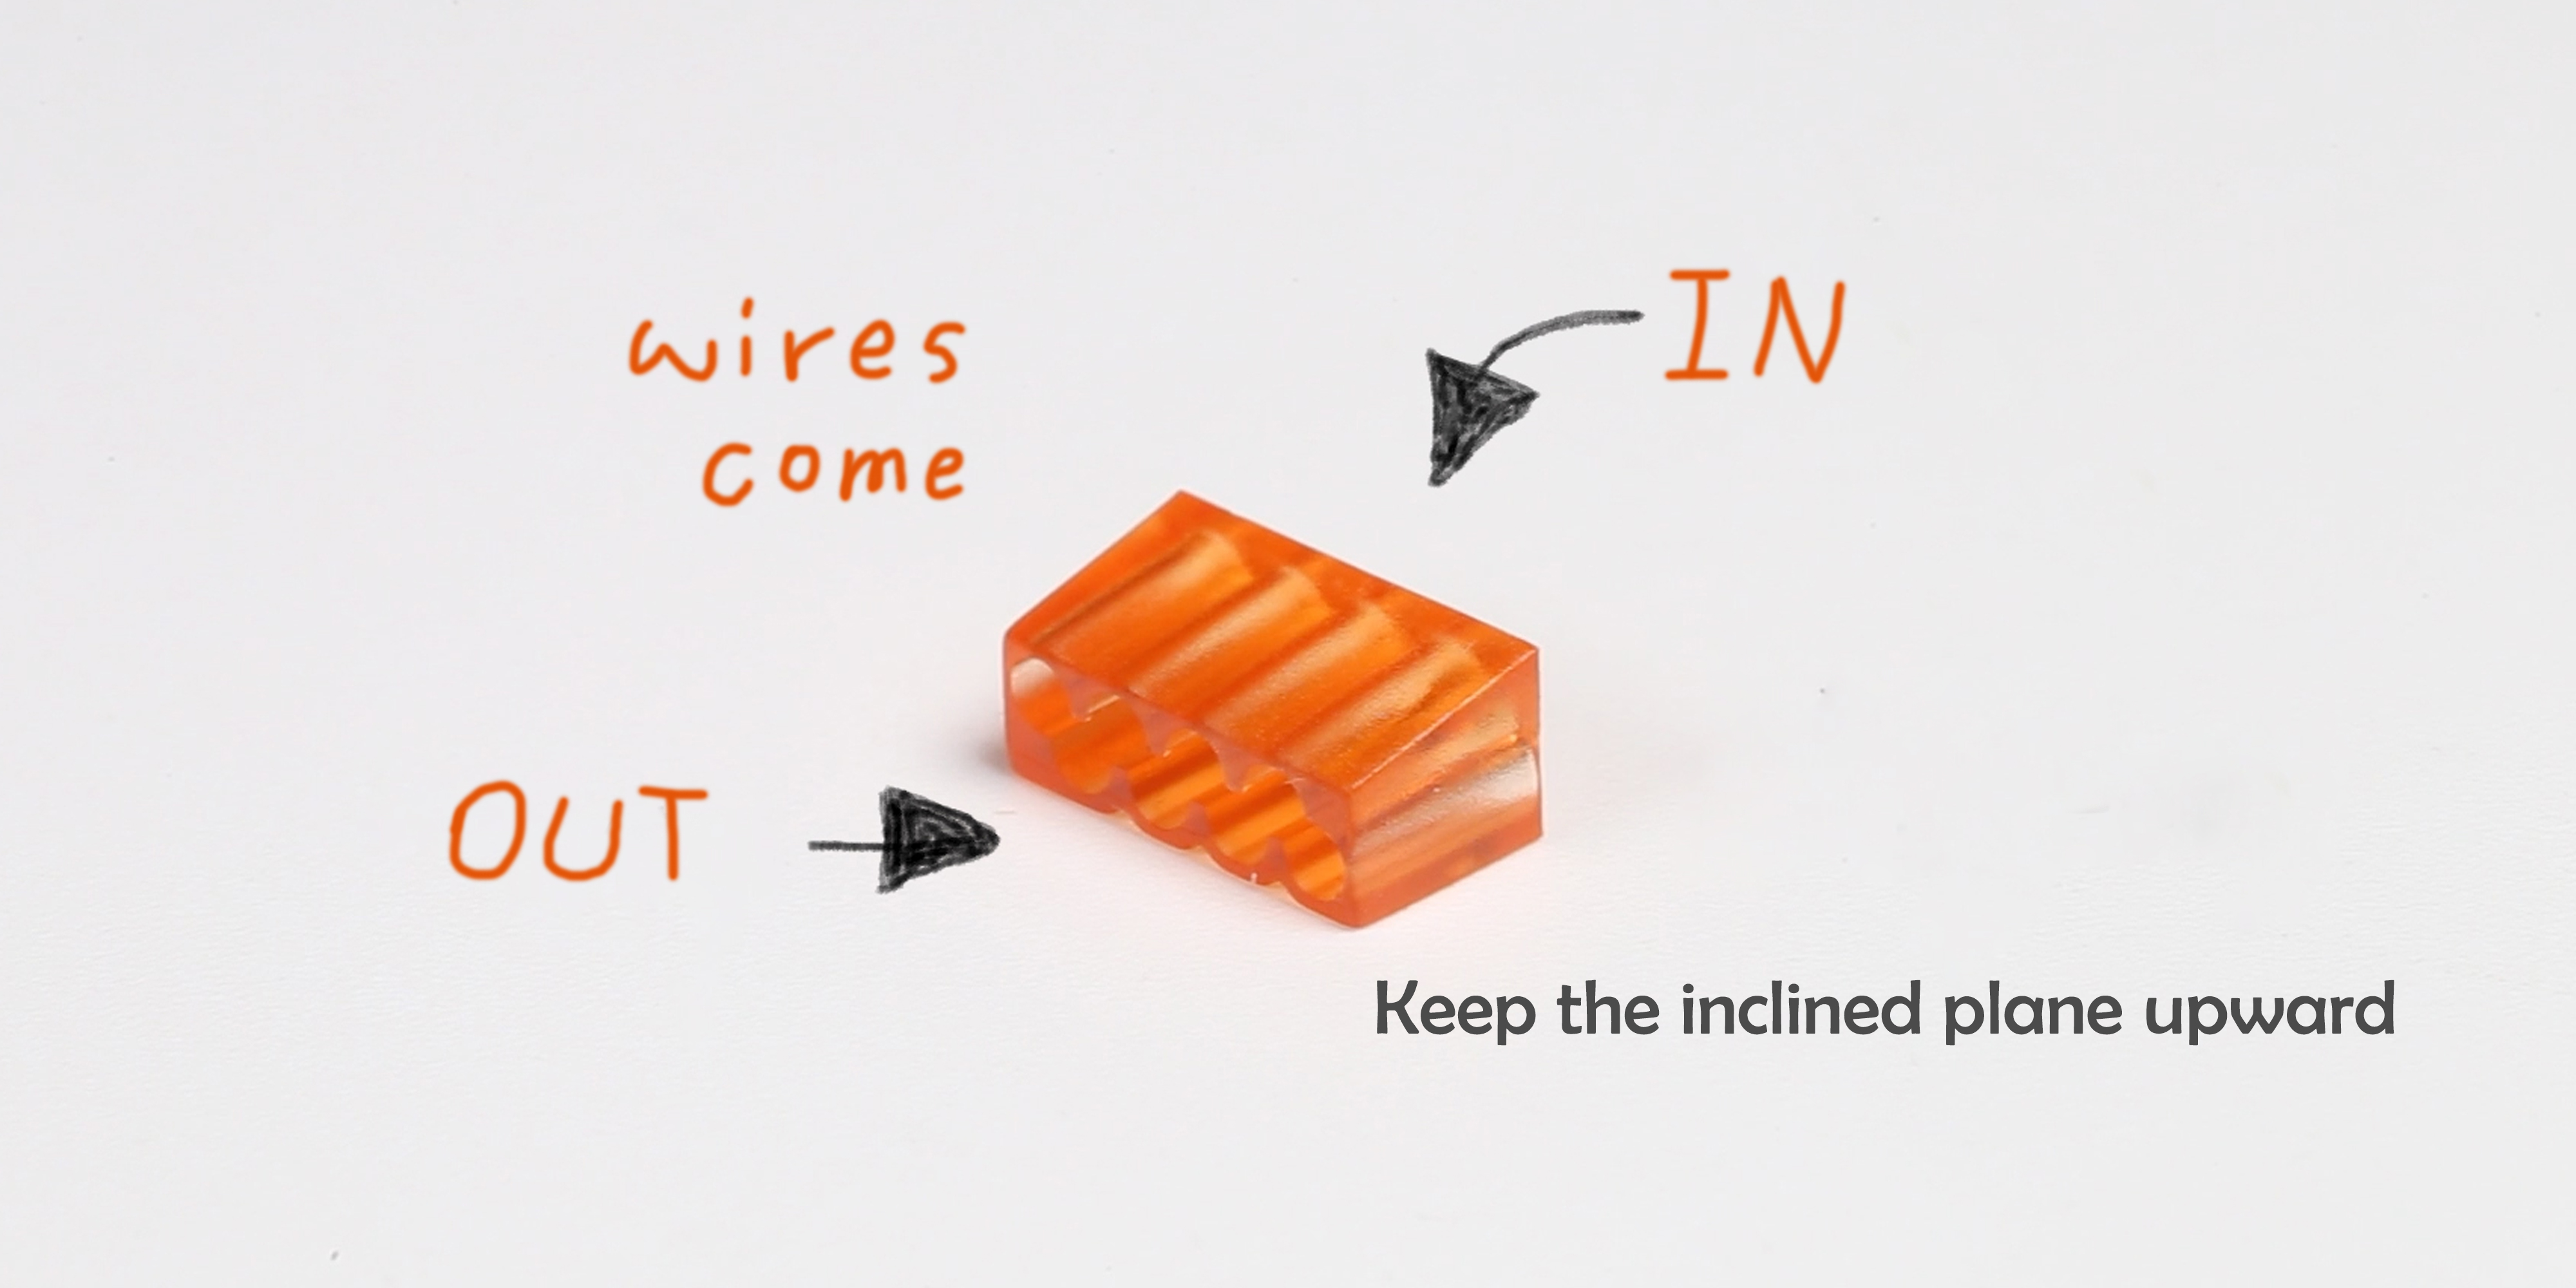
Keep the inclined plane upward, and push the loading bar in the middle of the wires.
And then, push these into the modular plug together.
This time you have to push into the end and let the wires pass through the hole on the plug.
Step 8:
Crimp the modular plug.
Remember, all the end-pass-through modular plugs are crimped with the tool which is designed for end-pass-through modular plugs.
With the end-pass-through modular plug crimping tool, we could crimp the plug and cut the extra wires in one step.
Step 9:
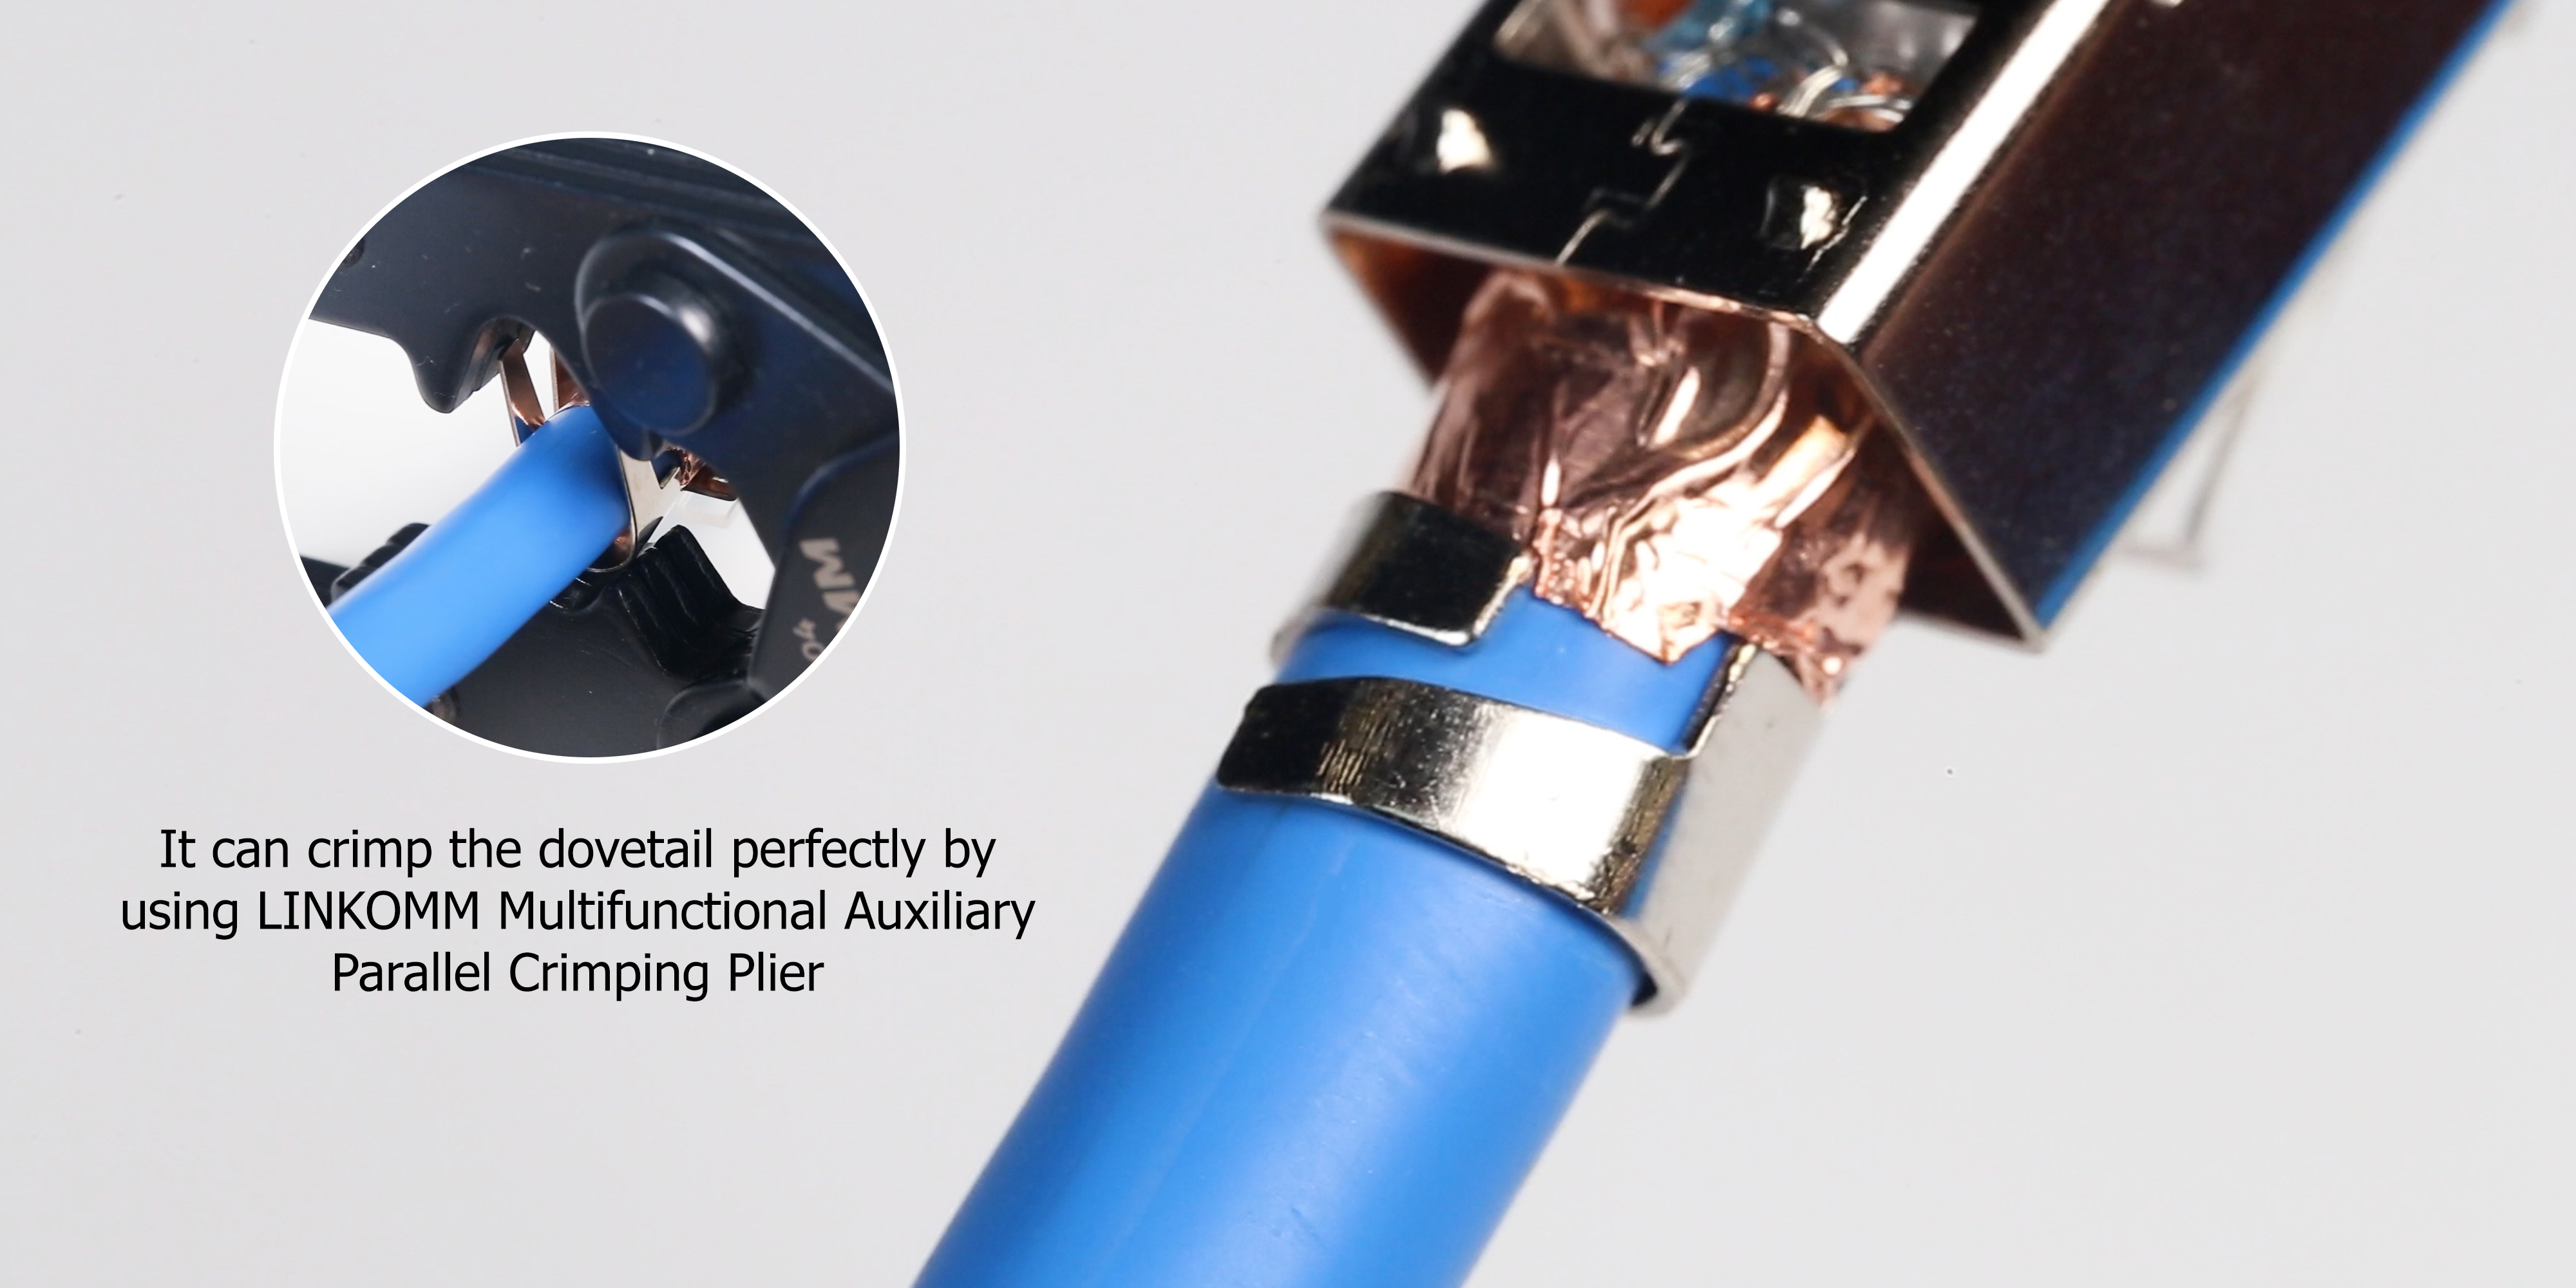
Make the dovetail stable around the cable.
With LINKOMM Multifunctional Auxiliary Parallel Crimping Plier, making the dovatail stable around the cable becomes easier than before.
Step 10:
Set the strain relief with the plug.
Congratulations! This is the end of the teaching!
